The Ultimate Blow Drying Guide
A Must-Read Before Your Next Blow Dry
 If your plan when it comes to blow drying is to point and shoot until your strands are dry (we aren’t judging, we’re guilty of that too) you will most likely benefit from some pointers. We are also the first to admit that blow drying the “right” way sounds exhausting and another reason on the list to feel the need to wake up EVEN earlier than you already do, but we’re here to tell you that you can change your blow drying habits for the better and actually *save* time!
We’re not exaggerating - you may even get to wake up a little later than usual.
THE 5 GOLDEN DO’S & DON’TS OF BLOW DRYING:
1. Don’t start blow drying the second you get out of the shower. Most mornings we feel rushed, so the sooner we start drying the better, right? WRONG. Blot out excess moisture and allow your hair to air/towel dry* for at least 15 minutes as a general rule (*if you insist on towel drying, please consider one that is good for your hair i.e. the Hubalou Hair Wrap), before you begin blasting it with heat.
Hair is at its most vulnerable when its wet, so to keep it from taking the brunt of damage in this delicate state - wait! The fine to medium hair girls should wait until their strands air dry about 60-70%. Thicker haired girls should only be about 50% dry if you’re wanting to dry it straight. If you’re wanting to enhance natural texture then you should add product, squeeze out the excess moisture, wrap it up in a Hubalou (or second best option: an old cotton t-shirt) and dry once your curls/waves are done dripping.
2. Do use heat protectant, especially on the all-too-forgotten back of your head. Taking the time to apply your heat protectant on more than just the top of your head means you will save all those ends from breakage while increasing the longevity of your blowout. Work your chosen product from mid shaft to the ends either with a comb or your hands.
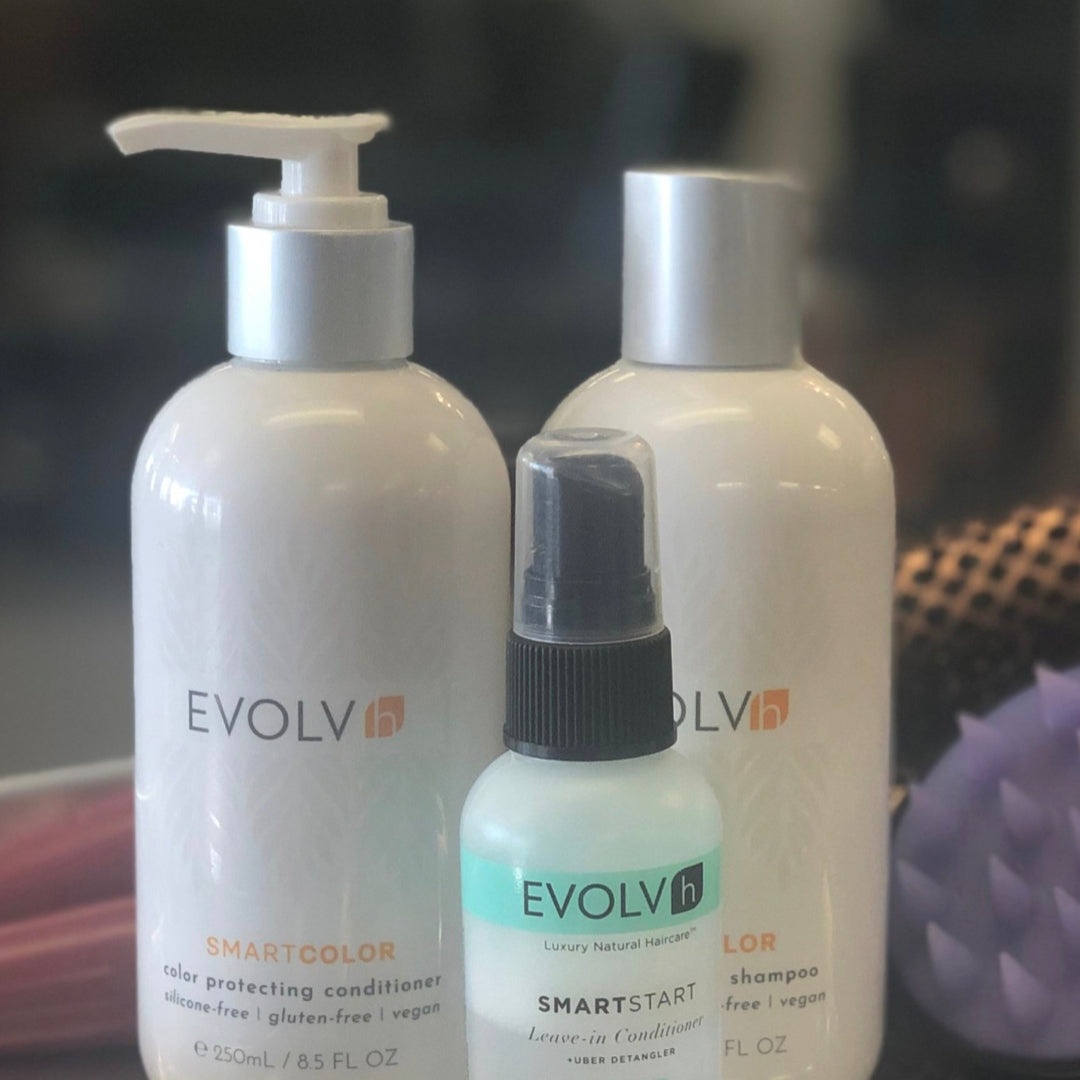
We highly recommend our SmartStart Leave-In Conditioner, or if you’re looking for a little extra thickness, our SmartVolume Leave-In Conditioner as your pre-blowout protectant. Not only do they prevent breakage and protect from heat, but as a bonus they also reduce frizz and flyaways, add shine, and protect from UV damage!
3. Don’t focus too much on your ends. Many start their brush at the roots but drag it to the ends of their hair too quick and blast them with heat the most. Instead, slow it down. Focus on your hairline and roots getting dry first. By the time you have dried your roots and hair midway down, your ends should practically be done. This will save you time and save your ends from breakage!
4. Do use the correct brush for your hair type. In general ceramics are better for smooth hair girls. Ceramics and metal are able to provide a smoother look but they heat up much quicker meaning dry time should be kept to a minimum to keep damage at bay. Coarse or frizzy hair girls should consider a boar or nylon bristle which tend to have a larger quantity of bristles helping to provide the right amount of tension in the hair to create smoothness.
5. Don’t ignore your blow dryer’s attachments. In order to get a smoother look, the attachments are a must! Your dryer’s lip is the hottest part so the concentrator nozzle and diffuser help to give some space between it and your strands meaning less damage. Smooth hair girls - you need the concentrating nozzle so the air is directed on your hair’s cuticle making the drying process faster and leading to less frizz and split ends. While curly girls need the diffuser to help keep curls smooth and intact.
STRAIGHT HAIR BLOW DRYING GUIDELINES
Step 1: Pre-dry & Section. Air and/or towel dry as mentioned above. Next, section off hair by clipping up top layers near the crown of your head. Then begin drying lower layers using a brush. Be sure to point the nozzle of the blow dryer downward to create shine and smoothness.
Step 2: Dry Top Layers. First clip back your now-dry lower layers then release your top layers from the clip. Point the blow dryer toward your roots for volume and work through to the ends forward and out.
Step 3: Finish Ends. Release your lower section from the clip. Flip all hair backward and part your hair as you wish. Finish up drying hair near your forehead. Either roll your brush through your ends inward to create curl or straight out for a blunt finish while you blast with heat. Then set with cool air.
There are many products out there that you can use for straightening when blow drying. EVOLVh’s healthy hair answer to the silkiest straight smooth look you’ve ever had is WonderBalm. The first silicone-free (and fragrance free) product of its kind with performance that will amaze - soft, touchable hair with brilliant frizz-free shine, it’s also absolutely weightless! It's a pure wow experience that you simply won't be able to live without.
CURLY/WAVY HAIR BLOW DRYING GUIDELINES
Step 1: Apply Leave-In & Styling Cream/Balm. After working your leave-in conditioner through to your ends, flip hair to one side. Distribute styling product from root to ends in manageable sections. Then hold the ends as you shake your hands from side to side. Finally, release curls to spring back up to the root.
Step 2: Diffuse At Roots. Set your dryer on low to medium heat at medium speed and aim at the roots, beginning at the nape of your neck. Loosely hold ends away from the dryer as you never want to blow dry curly ends which dehydrates and causes frizz. Diffuse until all roots are dry.
Step 3: Smooth & Finish. If you need additional product - gather hair as if you were sweeping it into a low ponytail, spread product between your palms and then run your hands from hairline to ends. For added fullness, massage scalp at the roots.
To moisturize any potential dry ends, de-frizz, or help with flyaway control, while adding moisture after blow drying - try SuperFinish Polishing Balm, another silicone-free formula that delivers as promised, and that professional stylists call the “perfect product.”
ALL BLOW DRYERS ARE NOT CREATED EQUAL
What should you look for in a dryer?
Wattage
Investing in a high wattage hair dryer is important for minimizing excessive heat. Basically the higher the wattage, the more efficient your blow dryer will be. A high watt motor has higher wind power, so you will be able to dry your hair in less time cutting down on your strand’s heat exposure. Weak watts mean less wind and prolonged heat exposure. Aim for 1800 to 2000 watts.
Ionic
The simple science behind ionic dryers is that it blows out negative ions and because water’s ions are positively charged, this helps break down water droplets, thereby preventing them from absorbing into hair (causing frizz) and speeding up dry time.
Ionic blow dryers are best for thick, frizzy, and difficult-to-dry hair. Note that if your hair is especially flat and/or oily or you are trying to create a non-sleek look you may still want to use non-ionic as you want to be careful not to overdry your hair. The best dryers have ionic and non-ionic features.
Tourmaline & Ceramic
Tourmaline dryers also emit negative ions as well as infrared heat which is made up of longer wavelengths to penetrate hair, drying it from the inside out. This type of heat is much gentler on hair, allowing it to withstand higher temperatures. Ceramic dryers also emit a non-damaging infrared for added heat protection. Be sure to look for tourmaline and/or ceramic when dryer shopping, especially if your hair tends to be fine or dry.
Light Weight
If you blow dry regularly, chances are an arm workout is already part of your morning routine. We all know holding a dryer at any weight for an extended period of time can be tiring, so aim for a lighter weight dryer, around one pound is best, to save your arms from cramping up and causing an early surrender that will compromise your proper drying technique.
Non-Negotiables: A Cold Button, Adjustable Heat & A Nozzle/Diffuser
Lastly, these three features are absolute musts. That mysterious cold button you’ve always been wondering about is the key to sealing the cuticle and therefore locking in your style. Bonus: it also boosts shine! Use this button when you have completed your drying process.
Adjustable heat is a prerequisite because not all hair dries the same. The quicker your hair dries the lower the heat setting you should use in order to minimize damage. Finally the nozzle and/or diffuser is essential for evenly distributing the dryer’s heat to your hair, which again helps your drying process be all the less damaging to your precious strands!
Congratulations! You have officially graduated blow drying 101. You are now fully equipped to dry your hair in the quickest time with the least amount of damage. Thanks for checking out these tips and we hope they stick with you as you go forth on your journey towards your healthiest, happiest hair yet!


